This is the documentation of my journey into mould making, taking my 3D print of my Goddess bust and creating a 'Silicon Mould with a Plaster Jacket.' With the help and teaching of Tansy in the 3D workshop at NUA.
I came to the process as a novice having never tried it before and knowing nothing of it. After asking the same questions in different ways I slowly gained the confidence to begin by wrapping my precious print in cling film.
I was advised to make the mould in 3 pieces due to the main area details, also being pre warned that the crown and flower details would be difficult to capture and replicate...
Fig.1: Cling film wrap.
Fig.2: Preparing the Clay.
Fig.3: Sealing the wrapped bust in a clay jacket.
Fig.4,5&6: Making the base for the 1st plaster pour, building up the clay to an even level, trying to guess where the best line on the bust is for the crease of the mould to fall!?
Adding a square centimetre trim with dovetail keys around the entire edge of the bust, this will form the fixing of the silicone mould into the plaster jacket, also adding half sphere holes with the back of a brush for extra keys to help the mould pieces line up! Snorkel for a pouring hole.
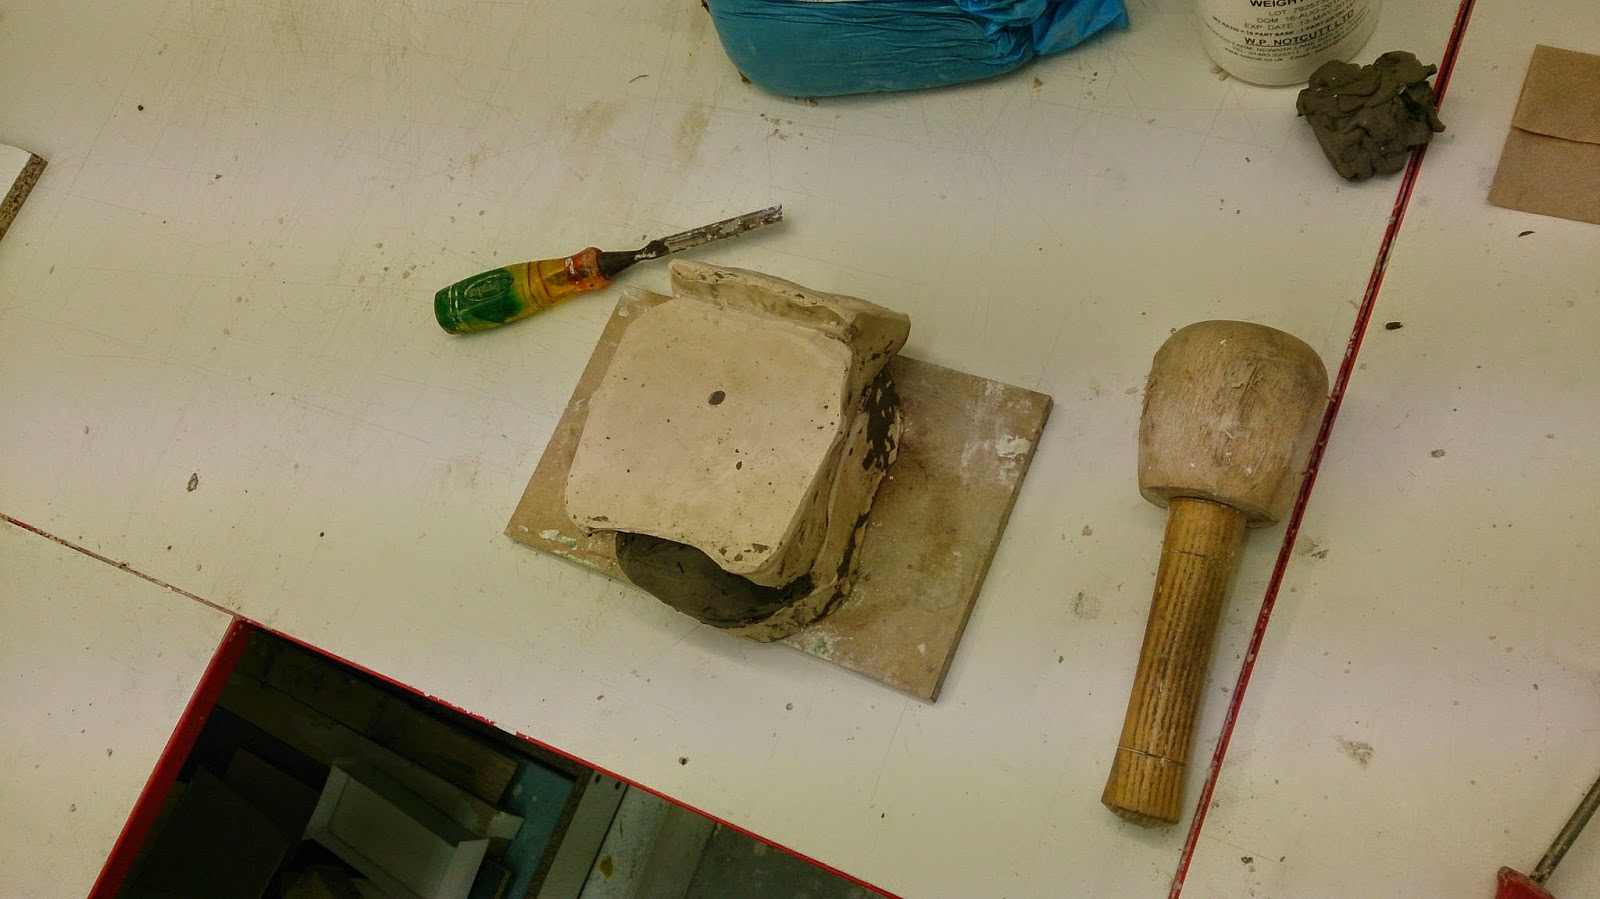
Final elements for this first stage include building up a clay wall with a muslin dipped in plaster wrap for strength.
Fig.7: The pouring of the first plaster jacket section.

Fig.8: Flipping the first pour over and removing the base carefully to begin making the second section.
Figs.9&10: Repeating the previous process for the back half.
Fig.11: Ready to pour the final, top piece.
Fig.12: Opening the front of the complete plaster jacket set.
Figs.13&14: Preparing for the first resin pour
Fig.15: Adding a channel for the silicone to help form a seal. Note the strip in the groove to the right side of the face reveals the plaster jacket below, this later caused the silicone seal to be too thin and had to be repaired - lesson learnt!
Figs.16&17: Repositioning the front plaster jacket section, sealing the gaps with smeared clay and pouring the 1st silicone mould. the sub process of of the silicone is to mix a fixing agent with the base material, then place the mix into a vacuum to draw out the bubbles of air before its ready to pour. Pouring from height into a funnel again helps to draw out any last air bubbles.
Fig18: Preparing to open the mould and reveal the first section of silicone. A gentle tap with the chisel releases the pressure.
Figs.19&20: Removing the rear plaster jacket section to reveal the overspill of the first silicon pour, cleaning up then on to the second silicon pour.
Fig21: One final section to go, this shot gives an indication of one of the more intricate areas of the bust.
Fig22: All silicone parts of the mould have been poured.
Fig23: Releasing the plaster jacket for the first reveal of the silicone mould! very nervous and excited at this point ;D
Figs.24,25&26: The reveal, I was blown away by the clarity of the replication achieved, the grain of the 3D print was clearly visible. On top of this the flower details were almost perfect.
Fig27: It was inevitable that the model would be soiled to an extent. The pink dye from the silicone fixing agent stained some of the deeper areas of detail.

Fig28: The whole gang.
Figs.29,30&31: The clean set ready for casting!
A brief conclusion would be to emphasise how much I underestimated the intricacy of the whole process. I had yet to realise the next steps were even more


No comments:
Post a Comment